

Since my other “instant” bass project has to wait until it’s neck has been repaired – with new waterslide decals and a new lacquer finish, (always a lengthy process, at any time of the year) – my plans for an easy, “bolt together” Jazz bass build for the long winter evenings ahead, have been somewhat delayed. Thank heavens for the winter sales. I managed to snag another new, Mexican Fender “Standard Series” Jazz Bass body for a great price – just before the Christmas break. This time however, with a brown sunburst finish. (Fender parts number: 099-8008-732). The search was then on for a suitable “off the shelf” neck, to work with it.

With a desire to make this an all-Fender affair where possible, and with my preference for rosewood fingerboards and vintage specifications still at the fore – I was left with the option of sourcing either another used rosewood neck, (in which case I’d likely be in exactly the same position as with my other, “Standard” Jazz Bass build) – or checking out whatever “vintage” options Fender UK happened to have in stock, at the moment. For my pricepoint – the only real option turned out to be a Fender “Vintera” neck, and one particular model, (with a reasonably accurate, “Sixties inspired” spec and logo), immediately caught the eye – although it is, apparently, only currently being produced with a roasted maple finish. (Fender parts number: 099-9622-920). Rosewood still seems to be “off the menu” at Fender. Still – I’m reminded that my original, Japanese “57” Precision bass had an all-maple neck – and that suited me just fine. I even upgraded it later, and fitted it with vintage-correct covers to accentuate the vintage vibe. I’ll maybe look at this Jazz Bass build along similar lines. The two might make an interesting pair, for comparision, on a number of levels…
The “Vintera” range appears to be Fender’s latest nod towards the, seemingly constant, appreciation of classic vintage designs – and the range seems to be an evolution of earlier “Classic” and “Classic Player” lines. The new range is still crafted in the Fender Ensenada factory, in Mexico and, if the quality of the “Vintera” components turns out to be anything like that of the “Classics” – they should prove equally excellent value for money. Besides – if you want a 7.25″ radius fingerboard and Fender quality – there are currently no other options available, the right side of £400. Vintera it is then… and roasted maple too…
Roasting maple supposedly results in a lighter, but much stronger material – so I’m quite interested to see what advantages it might bring to the Jazz bass form. The dimensions around the nut on the Jazz Bass neck always seemed, to me, to be unfeasibly “dainty” – and the way the headstock had “spooned” slightly on my older Jazz neck, just seemed to add further to my caution. A stronger, lighter neck on – what can often be a “heavy old piece of lumber” – may well be a positive.
But roasting maple does darken the wood somewhat – and it isn’t in the usual “amber” way, that maple usually darkens and matures. Roast maple might look quite normal in the Fender catalogue, (and deceptively online) – but the results can turn out to be quite a bit darker than you might possibly expect. It’s a personal thing, of course – but if you’re experimenting, it might be a good idea to check the returns and exchange policy with your supplier – or try to buy from somewhere where you can choose from stock. If you’re taking a chance, (like me) – expect something which has something of a dark amber, maple characteristic – but tempered with almost mid oak… even walnut tones…
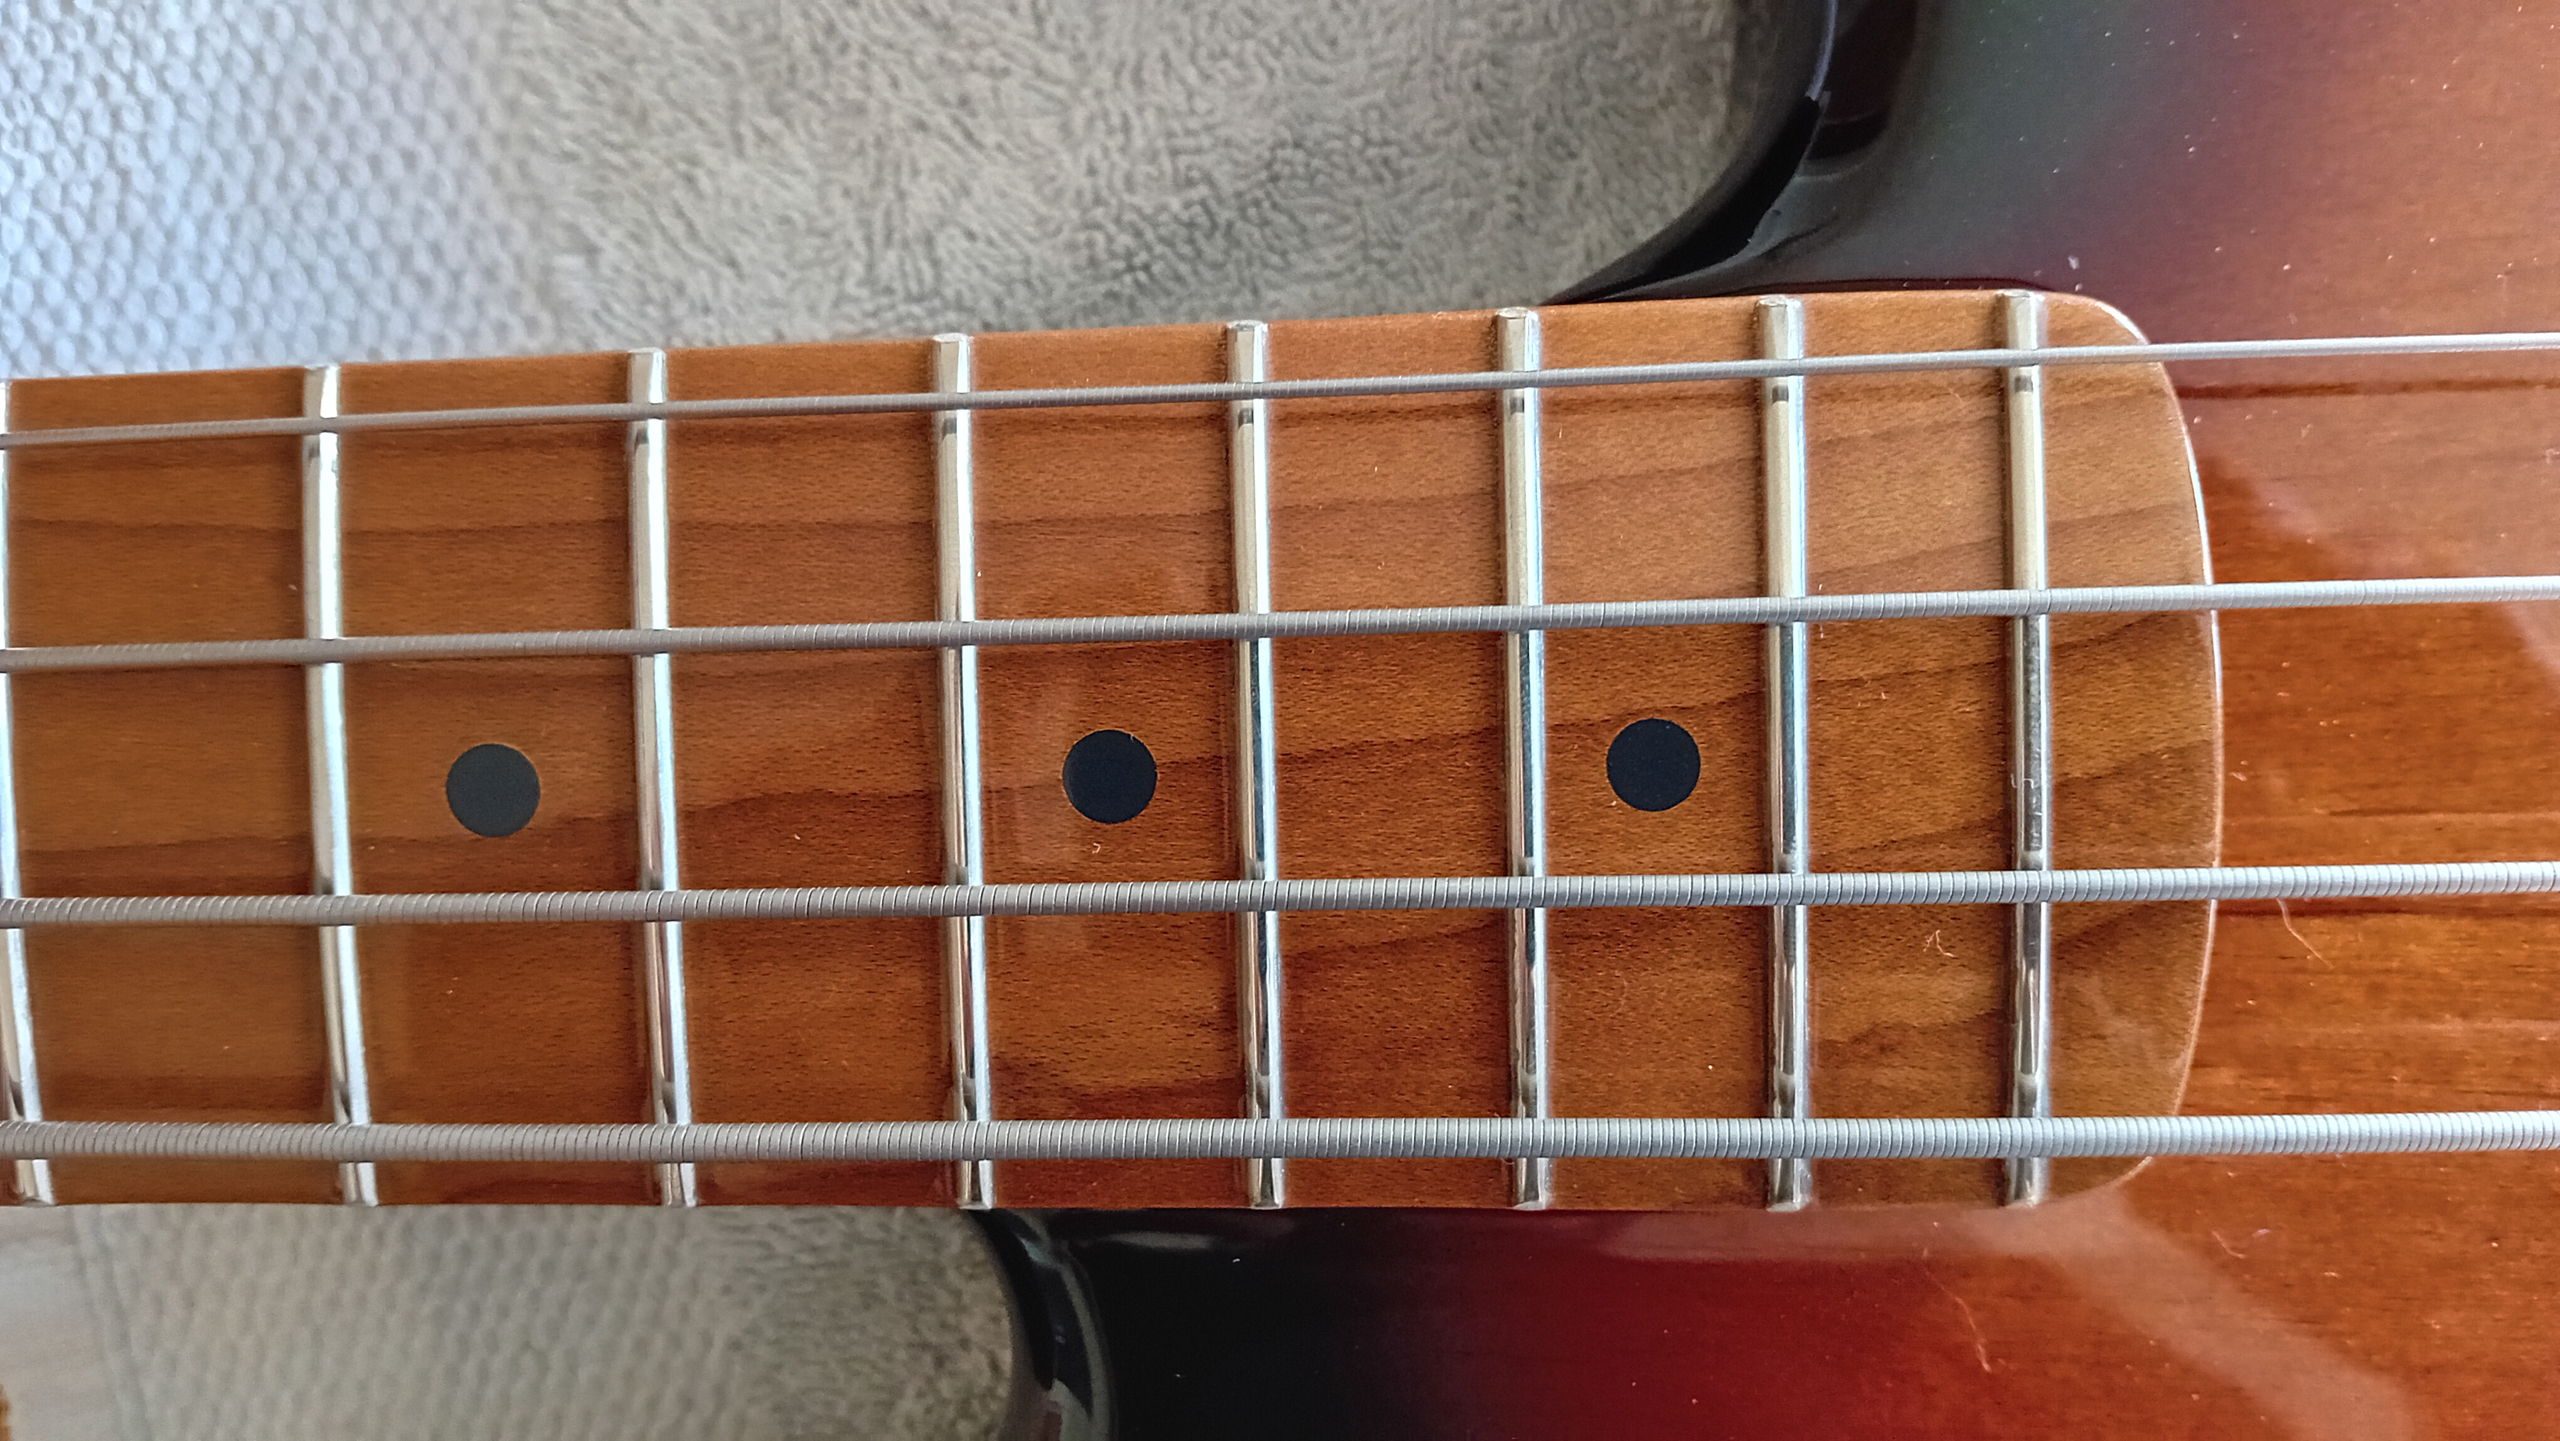
Since I’m working, in this case, with a Sunburst body – the tones should still match fairly well for this build. The colour of the neck echoes the dark amber at the centre of the sunburst – and under certain lighting conditions – the headstock, (on this example especially), does still look, perhaps, a little like “old” maple. The fingerboard, however, might take a bit more getting used to. The gloss urethane lacquer, (which is applied to the board and face of the headstock only), does seem to accentuate the colouration of the wood, and brings out more of the dark figuring. (Perhaps it’ll wear to more of a satin sheen with play? The back of the neck, which is left a more satin finish, does appear lighter – and perhaps things will look different once the strings are on?). Either way – it’s a bit of a compromise for me – but with few alternative choices, and with a sympathetically coloured body paired-up to provide a “balanced” look – I might just be able to gain more from the changed, physical characteristics of the wood than I’ll “lose” with any colouration issues. Clearly, however – In striving for a “vintage specification” whilst using components from Fender’s contemporary catalogue – I may have to accept a few of their more modern interpretations and “evolutions”, (at least until the fashion for more authentic vintage styling comes around again).

My plan is to simply, (and leisurely), bolt together the basic form – using the new body and neck – together with whatever components required. I’ve already previously sourced most of what I’ll need, for my other, (postponed), Jazz Bass build. Aside from the slight difference in neck characteristics – I’ll also aim to fit each bass with a slightly different control schematic. (I’ve yet to decide what to do about the pickups in either case). However – I plan to make both bodies fully shielded – so that’s where I’ll start with this sunburst body…
As usual – overlapping strips of heavy-duty, self-adhesive copper foil are laid to the sides and base of all of the routed openings. With this modern rout – the neck pickup cavity is large, (presumably to cope with certain, other, optional pickup types, or to allow for different pickups spacings), and the rout continues all the way down, so that the main control cavity is simply an extension of the neck pickup cavity. Whilst lining the sides of this large cavity – it’s important to remember to “lay-in” a grounding wire from the bridge, via the small, pre-drilled conduit. This opens out onto the face of the body, adjacent to the bridge mounting points, and a wire can be laid so that the exposed core comes into direct contact with the metal bridge plate, as it’s tightened down from above. For now – the wire is just notionally laid in it’s path, and trimmed to an approximate length. I want to locate a central “star” grounding point on the slight, “raised platform” which marks the transition between the neck pickup, and main control routs – so the wire needs to be long enough to easily reach.
The bridge pickup rout is exactly shaped to suit the standard, Jazz pickup form. Like all of the other cavities – it appears to be coated with some kind of black paint. This is, possibly, a special type of EM shielding paint – (although on testing with a multimeter – the usual, diagnostic, continuity effect appears to be quite minimal). I’d like to line this cavity with copper foil too – but the shielding paint doesn’t appear to bond well with the foil adhesive. I’ll probably eventually use additional brass shielding plates below the pickups – but I’ll still have to find a way to get the finish to “accept” shielding foil around the bridge pickup, to make it a proper job. At the other cavities, there does appear to be enough of a bond to hold the foil in place – especially when it’s just lapped over the rim of the opening, and then firmly burnished down with an agate tool. I’ll come back to the bridge pickup later, and see what I can work out…

As the foil coverage for the main rout(s) nears completion – I lay and push the bridge grounding wire into the bottom angle of the cutout, and fix it in place with overlaid foil. This will ensure that it can’t come adrift, and won’t then get in the way of the circuit wiring or pots. The loose end is routed towards the slight “platform” between the pickup location and the main control rout – where a screw lug is located, and then tapped-in. Having trimmed the ground wire to length – a length of the core is stripped-back, and the end is pushed into the tapped hole. Overlaid copper foil creates a contact with the rest of the contiguous, copper shielding – and once the screw lug is driven in again, over the top – a secure, central grounding point is created. Ground wires from the pickups, jack socket and controls will all, eventually, attach to the lug(s) located here – and with the shielding foil also acting as part of the “ground side” – the aim is to comprehensively eliminate all external EM interference.

For a vintage-type spec – I want to use vintage style tuners. It appears that Sixties Fender basses often used “reverse wind” tuners, and modern versions do, still, seem to be available. However – some of the patterns appear to require work to the back of the headstock – where the screw shaft sits proud from the back of the securing plate. In these cases – recesses need to be carved to allow the tuners to sit properly flush. These Gotoh FB-30 tuners have a “standard”normal” 1:20 ratio wind – with the screw fully flush, behind. Furthermore – they have vintage style, large fixing plates and traditional “cloverleaf” tuning pegs. They’re not “reverse wind” – true – but they’re the right sort of style, at the right sort of price, and previous Gotoh tuners I’ve used, have always been well made.

However… the pegholes on the headstock are a slightly larger than usual – at 0.734” (18.64 mm) diameter. (Some Fender bass necks have 0.625” (15.87 mm), and others have 0.687” (17.44 mm) holes – so it will pay to check what will work for your particular situation, and choice of tuners). The Gotoh bushings supplied are too small for the larger openings – so I have to hunt out an alternative set which will work, and yet still surround the string posts snugly. Fortunately – I happen to have a set of Fender “Mexico Standard” bass tuners set aside for my P/J bass, and they come supplied with two sets of bushings. The Precision neck for the P/J build takes the smaller diameter fixtures – so that leaves a larger set spare for use here. Fortunately – the Gotoh posts seem to fit the larger Fender bushings perfectly, and the bushings are the right size for this neck.
The pegholes are already well finished, and perfectly sized, (unlike on my Precision neck…). The bushings drop into place, and push home with just heavy finger pressure. A flat piece of wood helps to ensure that they’re driven home straight and true.

The Gotoh tuners are then mounted onto the back of the headstock – (which isn’t pre-drilled at all, unlike many other Fender Mexico necks). I find the easiest way to locate the tuners here, is to start at one end – and to locate each fixing plate with just two of the four screws first. A set square is used to ensure that the plate sits absolutely square to the straight edge of the headstock, and then the first pair of holes are marked with a sharp awl. The holes are drilled to the correct diameter and depth for the supplied screws, and then the mechanism is firmly secured against the headstock – checking alignment, once again, with the set square. Once the tuner is in the correct aligment – the two other screws can be marked and drilled. Finally – the mechanism is secured in place – with a final check with the set square, as all four screws are tightened down.

The rest of the tuners follow the same approach. Special note needs to be made for the third, “D” string tuner – (by the narrow “waist” on the lower curved edge of the headstock). The large backing plate of these tuners only just fits within the available area – and I’m sure that if things are set out of line elsewhere – then the plate might just possibly end up overlapping the edge. Fortunately – care taken earlier, ensures that everything appears to be properly square, and in-line. The fitted tuners look just the job, and are “reassuringly chunky“. (They also add a fair bit of weight to the headstock).

Next – I can attach the bridge to the body. I’m using a Fender “Pure Vintage” bass bridge – Mexican made – (Fender parts number: 099-0804-100) – with threaded-type saddles. It’s a standard, 5 screw fixing – and the body is pre-drilled, with the screw holes already nicely finished and countersunk. The exposed end of the previously located grounding wire is trapped against the body by the fixing plate – with a short length of the exposed end posted down the central hole. Once the screw has been tightened down – this will ensure a firm, solid, secure contact at all times – but even a narrow wire can knock the chosen screw slightly off line. Therefore, I locate the central screw first, (as Fender recommend) – but only screw it down about 95% of the way. I then tackle the two outer screws, and screw the plate down more firmly – ensuring that the outer screws sit central in their recesses on the plate. The two remaining inset screws follow… with the central screw, the last to be fully tightened down. This procedure helps to keep the bridge straight and true to the pre-drilled fixing holes. All screws are tightened to “pinch tight” only – at which point the entire area of the base plate is held tight and flush, against the body. (If the screws are still slightly slack – the plate can hinge up at the front end slightly – Too tight, and it may compress into the body along the line of the screws. Correctly tightening the screws helps to level it out properly). Even though it’s a relatively simple job – it’s worth taking your time over the bridge. Good, proper contact between the body and the bridge plate, can help to improve the tone – and even if you cover it over with a fancy cover – a botched job can still make itself known, in other ways.

The neck can now be bolted to the body. The fit at the neck pocket here is excellent… Tight, but I don’t have to force the neck into the pocket at all. The heel is already pre-drilled for fixing bolts in the factory – and everything lines up as it should. I’m using a custom-stamped neck plate, with a generic “1964” era serial number. These particular neck plates are a little thicker than the usual Fender ones – A full 2mm thick, which means they’re less likely to warp. I use four stainless steel bolts, and gradually tighten them across the plate, and diagonally – until they’re all “pinch” tight, and the joint is firm. There’s no movement at all – and yet the plate doesn’t seem to be digging into the finish anywhere. Quite often – if the plate is over-tightened, or if it otherwise distorts and the corners dig in – then the plate can compress into the wood of the body and may, (at the very least), damage the finish. Don’t overtighten your neck bolts!!
I’m using a set of (lightly) pre-used, flatwound strings for this build. Fitting the strings helps to check the neck alignment and – although everything looks good all the way along the neck in this case – if there were to be a little bit of mis-alignment or “neck slop” – then now’s the best time to adjust the alignment, whilst the bolts are still tight within the freshly-tapped wood of the heel.

At the headstock end, the strings are carefully cut to the correct length – so that each string has about two turns around each of the string posts. Unfortunately – some of the bindings have shredded from previous use – but the strings themselves still look perfectly serviceable. I’ll fit a string guide at a later date – once I’ve attended to the stock, pre-slotted nut.

And with that – I’m only a pair of pickups, and a tone circuit away from a brand new bass…
