

When it comes down to the sequence of assembly for Precision type basses – it certainly helps to have the bridge/neck/nut/neck alignment established before the pickups are fitted – although the position of the pickup poles under the strings can, undoubtedly, offer further confirmation. However – it is the position of the snugly-fitted pickup opening on the scratchplate, which mostly dictates the placement of the “P” type pickup itself, within it’s, slightly oversized, cavity on the body. With the Jazz pickup opening – there’s much less tolerance around the edges of the pickup – so with this PJ hybrid build – I’ve already managed to take advantage of the “J” type pickup cover, (within it’s more “tailored” cavity) to help with the alignment of the neck. This simply isn’t an option with a pure “Precision” bass – (where it is more the location of the control pots, within the narrow control rout opening, which really dictate the precise mounting position of the scratchplate). The Precision pickup therefore, is usually mounted after the scratchplate position has been established.
Since the tone circuit will be built onto those control pots, and – since the plate will therefore have to be removed and replaced, (at least a few more times), before the build is complete – now would appear to be the best time to mount the pickups and to route their leads, through the various body conduits. The pickup wires can then remain coiled in the main control cavity, until the tone circuit is built, and the pickups are “hooked-up”. (Since, as with most of my builds, I’m completing the build in stages – it’s always useful to have natural breaks points – and to be able to keep things generally tidy and secure, in-between).

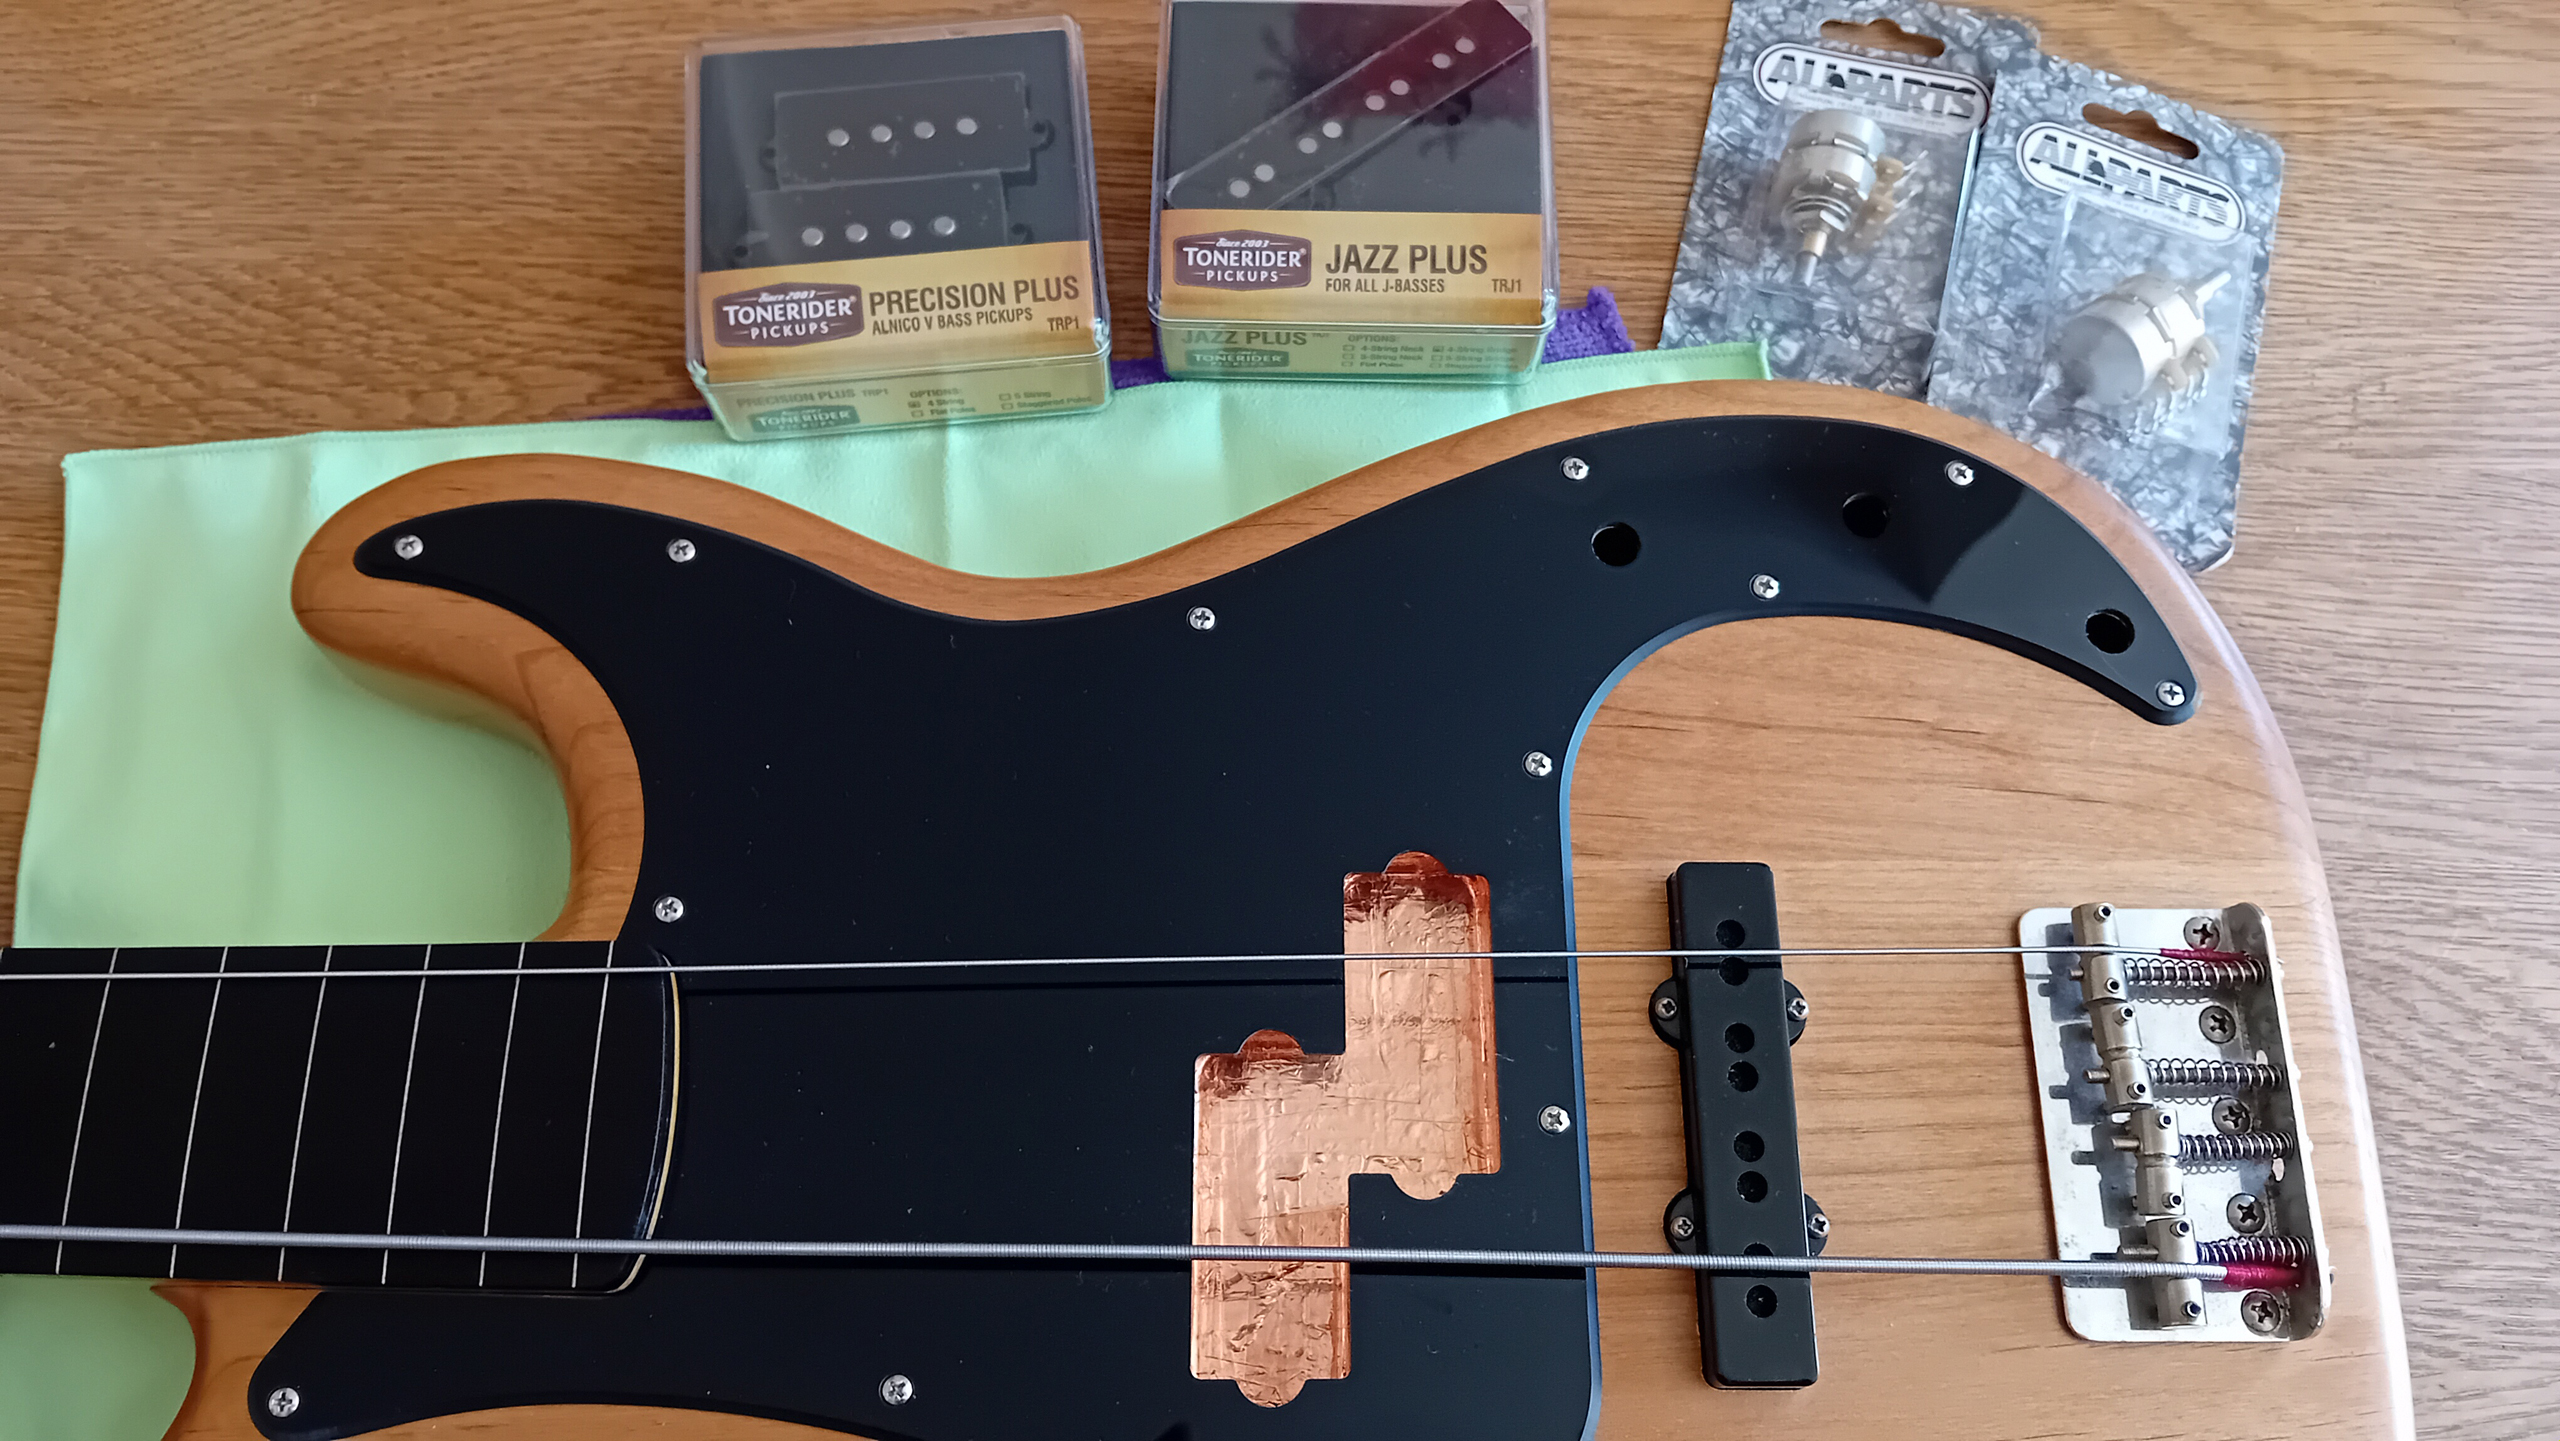
Since the rest of the guitar already primarily consists of generic, non-Fender parts – I’m using a Tonerider set of PJ pickups (“PJ Plus”: P1, 10.6K, J1B, 8.2K) for the build. That is – it’s a Tonerider “Precision Plus” pickup set, paired with an additional bridge pickup, from a Tonerider “Jazz Plus” set. (As with the few other Jazz bass pickup sets I’ve recently dealt with – the bridge pickup is slightly longer, to allow for the slight splaying of the strings down towards the bridge). Since most PJ “sets” would appear to be simple match-ups of different brand “Precision” and “Jazz” type pickups – pairing successful sets can, apparently, sometimes be a bit “hit and miss” – with a successful pairing usually seen as providing a “balanced” output across the set. The Tonerider “Jazz Plus” bridge is, reputedly, an excellent pairing with a Seymour Duncan SPB-1 Precision pickup (modelled itself, on vintage Fender 50’s P-bass tone) – but Tonerider’s own P-Bass Plus set comes in at roughly half the price of the SPB-1 alone… Given my positive previous experiences with other Tonerider pickups – I’m easily persuaded to try out their PJ pairing this time round, and am further encouraged by the many positive reviews from other users. Since Tonerider are Canterbury based – delivery is super-quick. After ordering online – the pickups arrive next day delivery, and come complete with fixing screws and neoprene foam “springs”.
However – there are no under-pickup shielding plates supplied with either pickup. Now I know I’ve already shielded the pickup cavities with copper foil… and I know that the Tonerider pickups presumably don’t require the “old-fashioned” plate shields – but I figure… since I’ve used brass plates previously, to excellent silencing effect on other builds… “why not include a couple here?“… (They’re not exactly expensive or difficult to achieve, and if I ever did decide to swap out the Toneriders for a different set – I wouldn’t have to worry about the new pairing being any more, naturally, “noisy”).
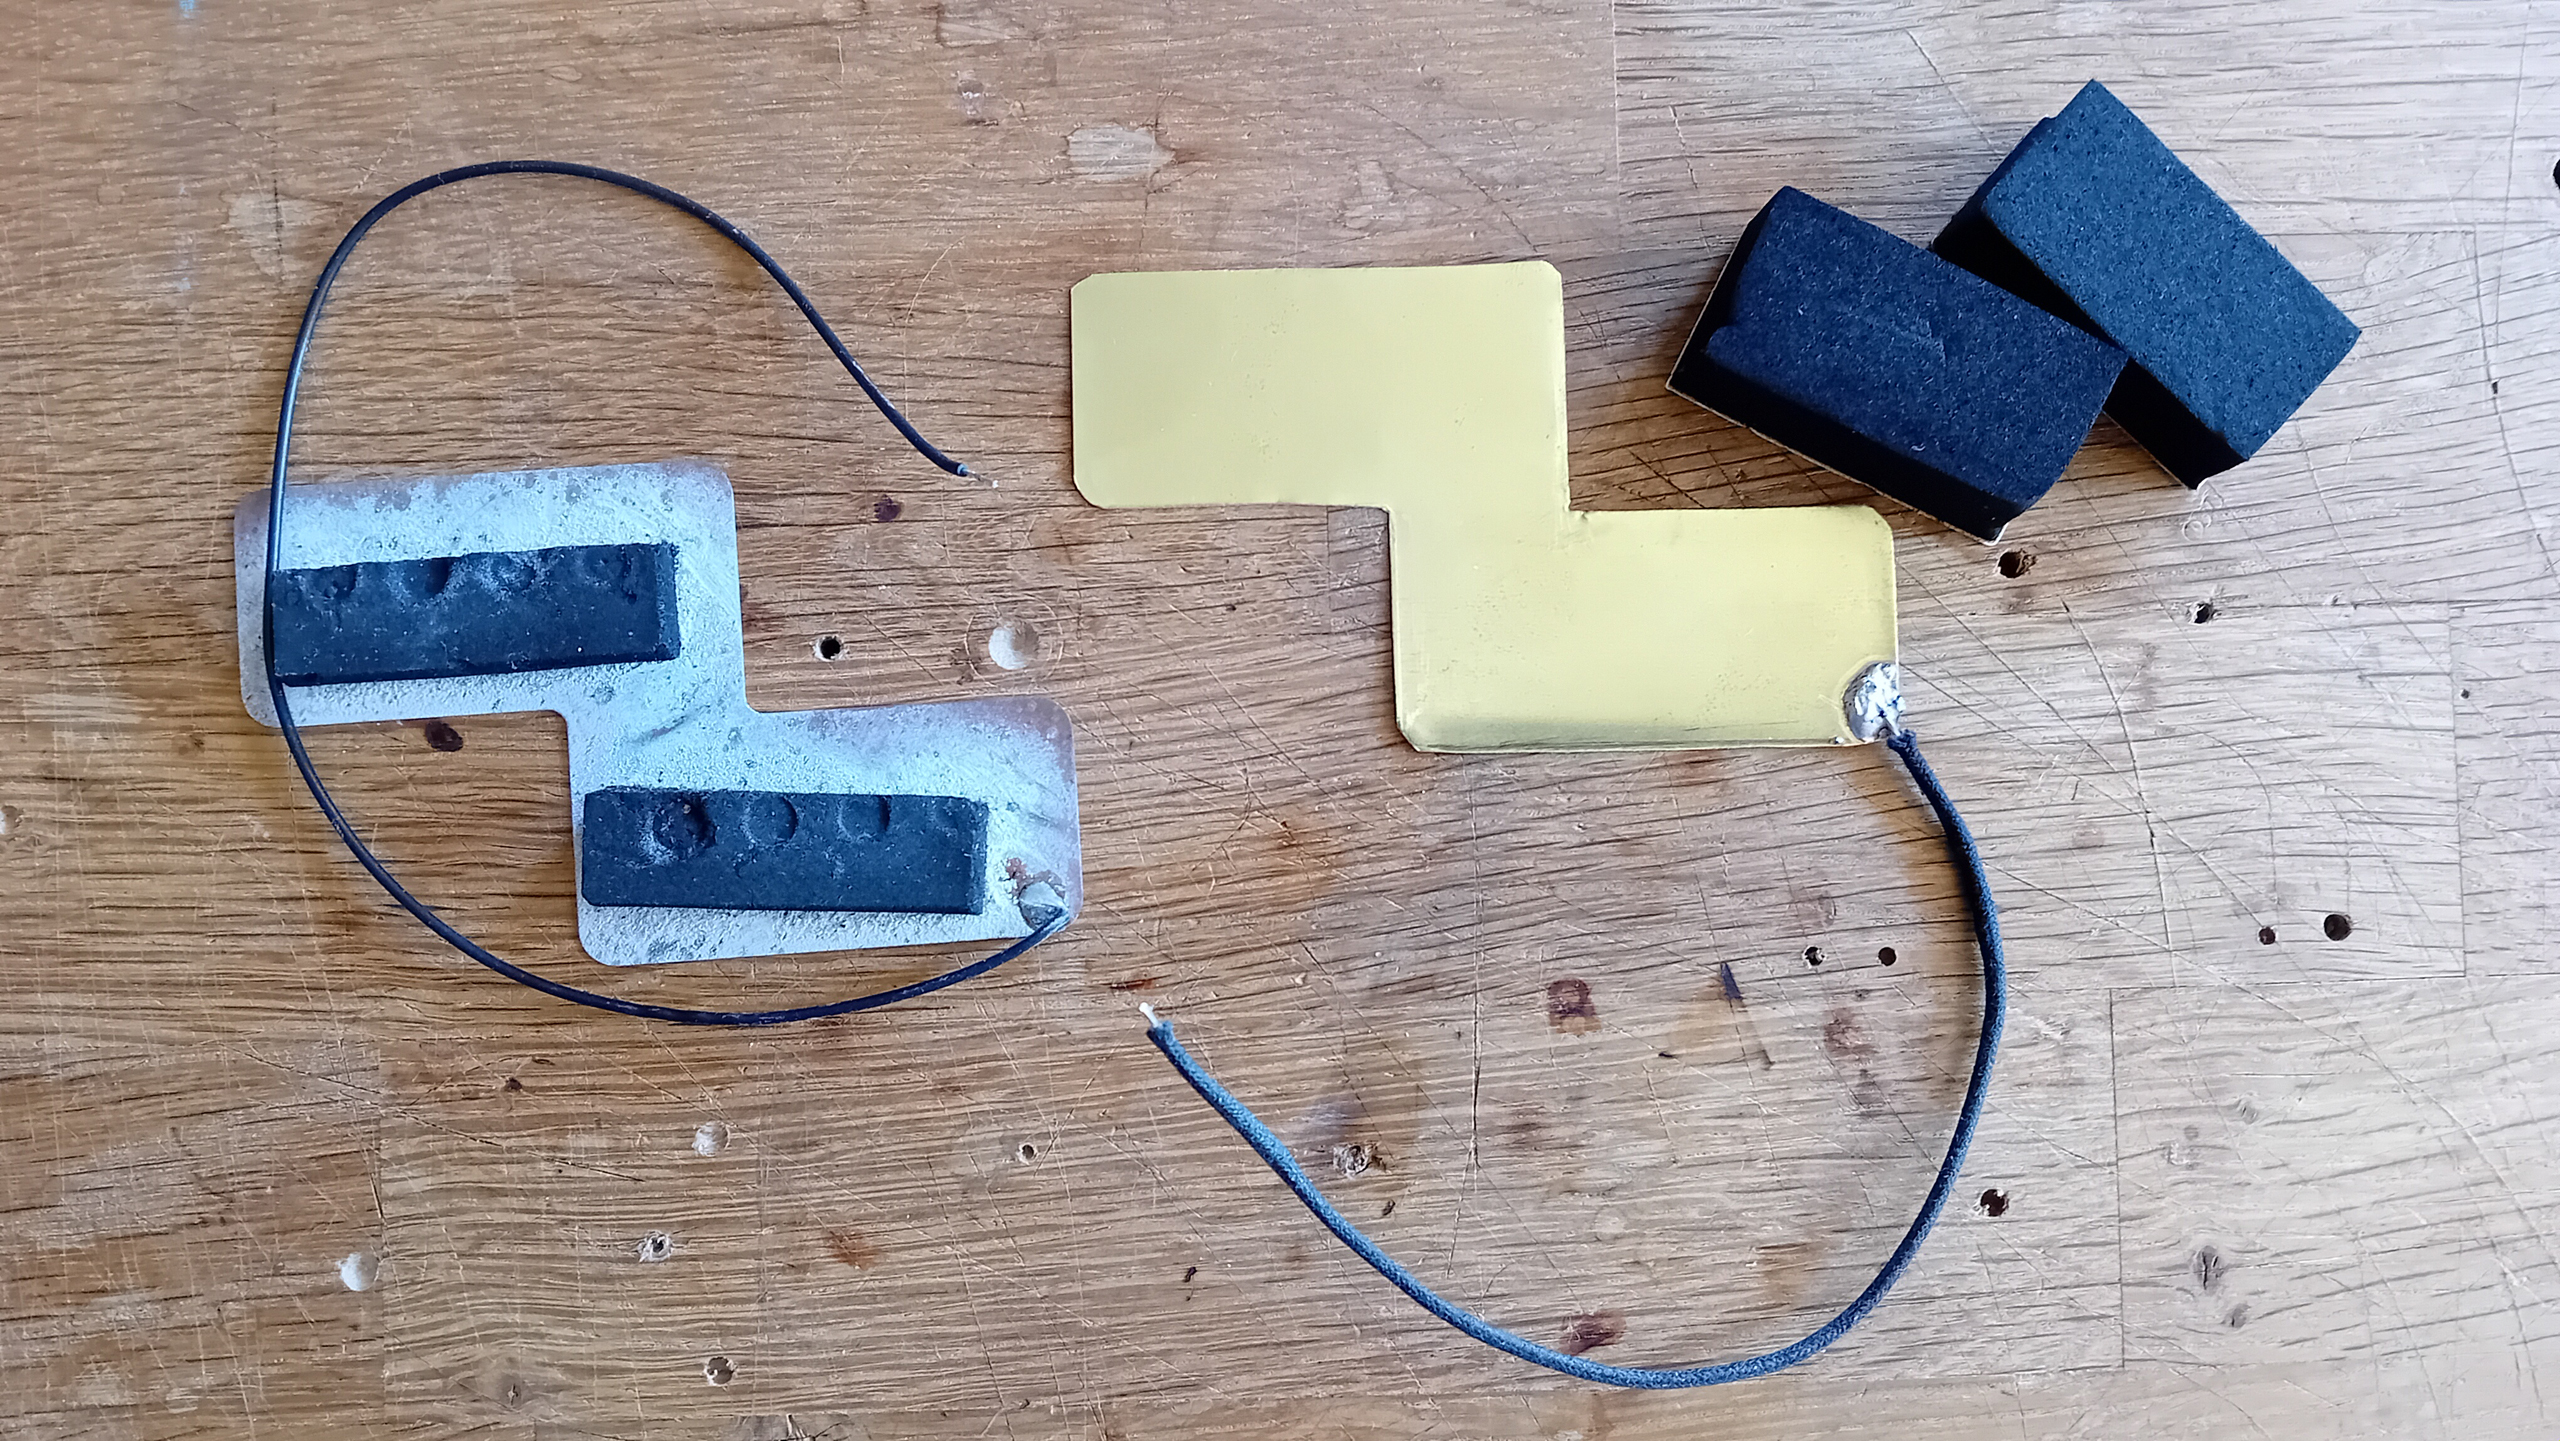
So – I trace the outline of an old Fender P-Bass shield, onto 0.5mm brass plate, and cut the shape out with tin snips. After de-burring the sharp edges – a black, cloth-covered, push-back wire lead is soldered on to one corner – with enough tail provided to reach the screw lug at the central “star” ground point, (previously placed on the side of the main control cavity).

To access the pickup cavity – I have to temporarily remove the two “test” strings, (which were previously installed to check the alignment of the neck). Now – before removing the scratchplate – the pickups are dropped into place, and the positions of the four adjustable mounting screws marked through, onto the base of the cavity below, using a sharp awl. The scratchplate is then removed, and the shield is dropped into place – with the two neoprene “springs” fixed to the brass plate. (They are supplied with self-adhesive tape to one side). As the plate is dropped into place – the ground lead is routed through the conduit, and into the main control cavity beyond.
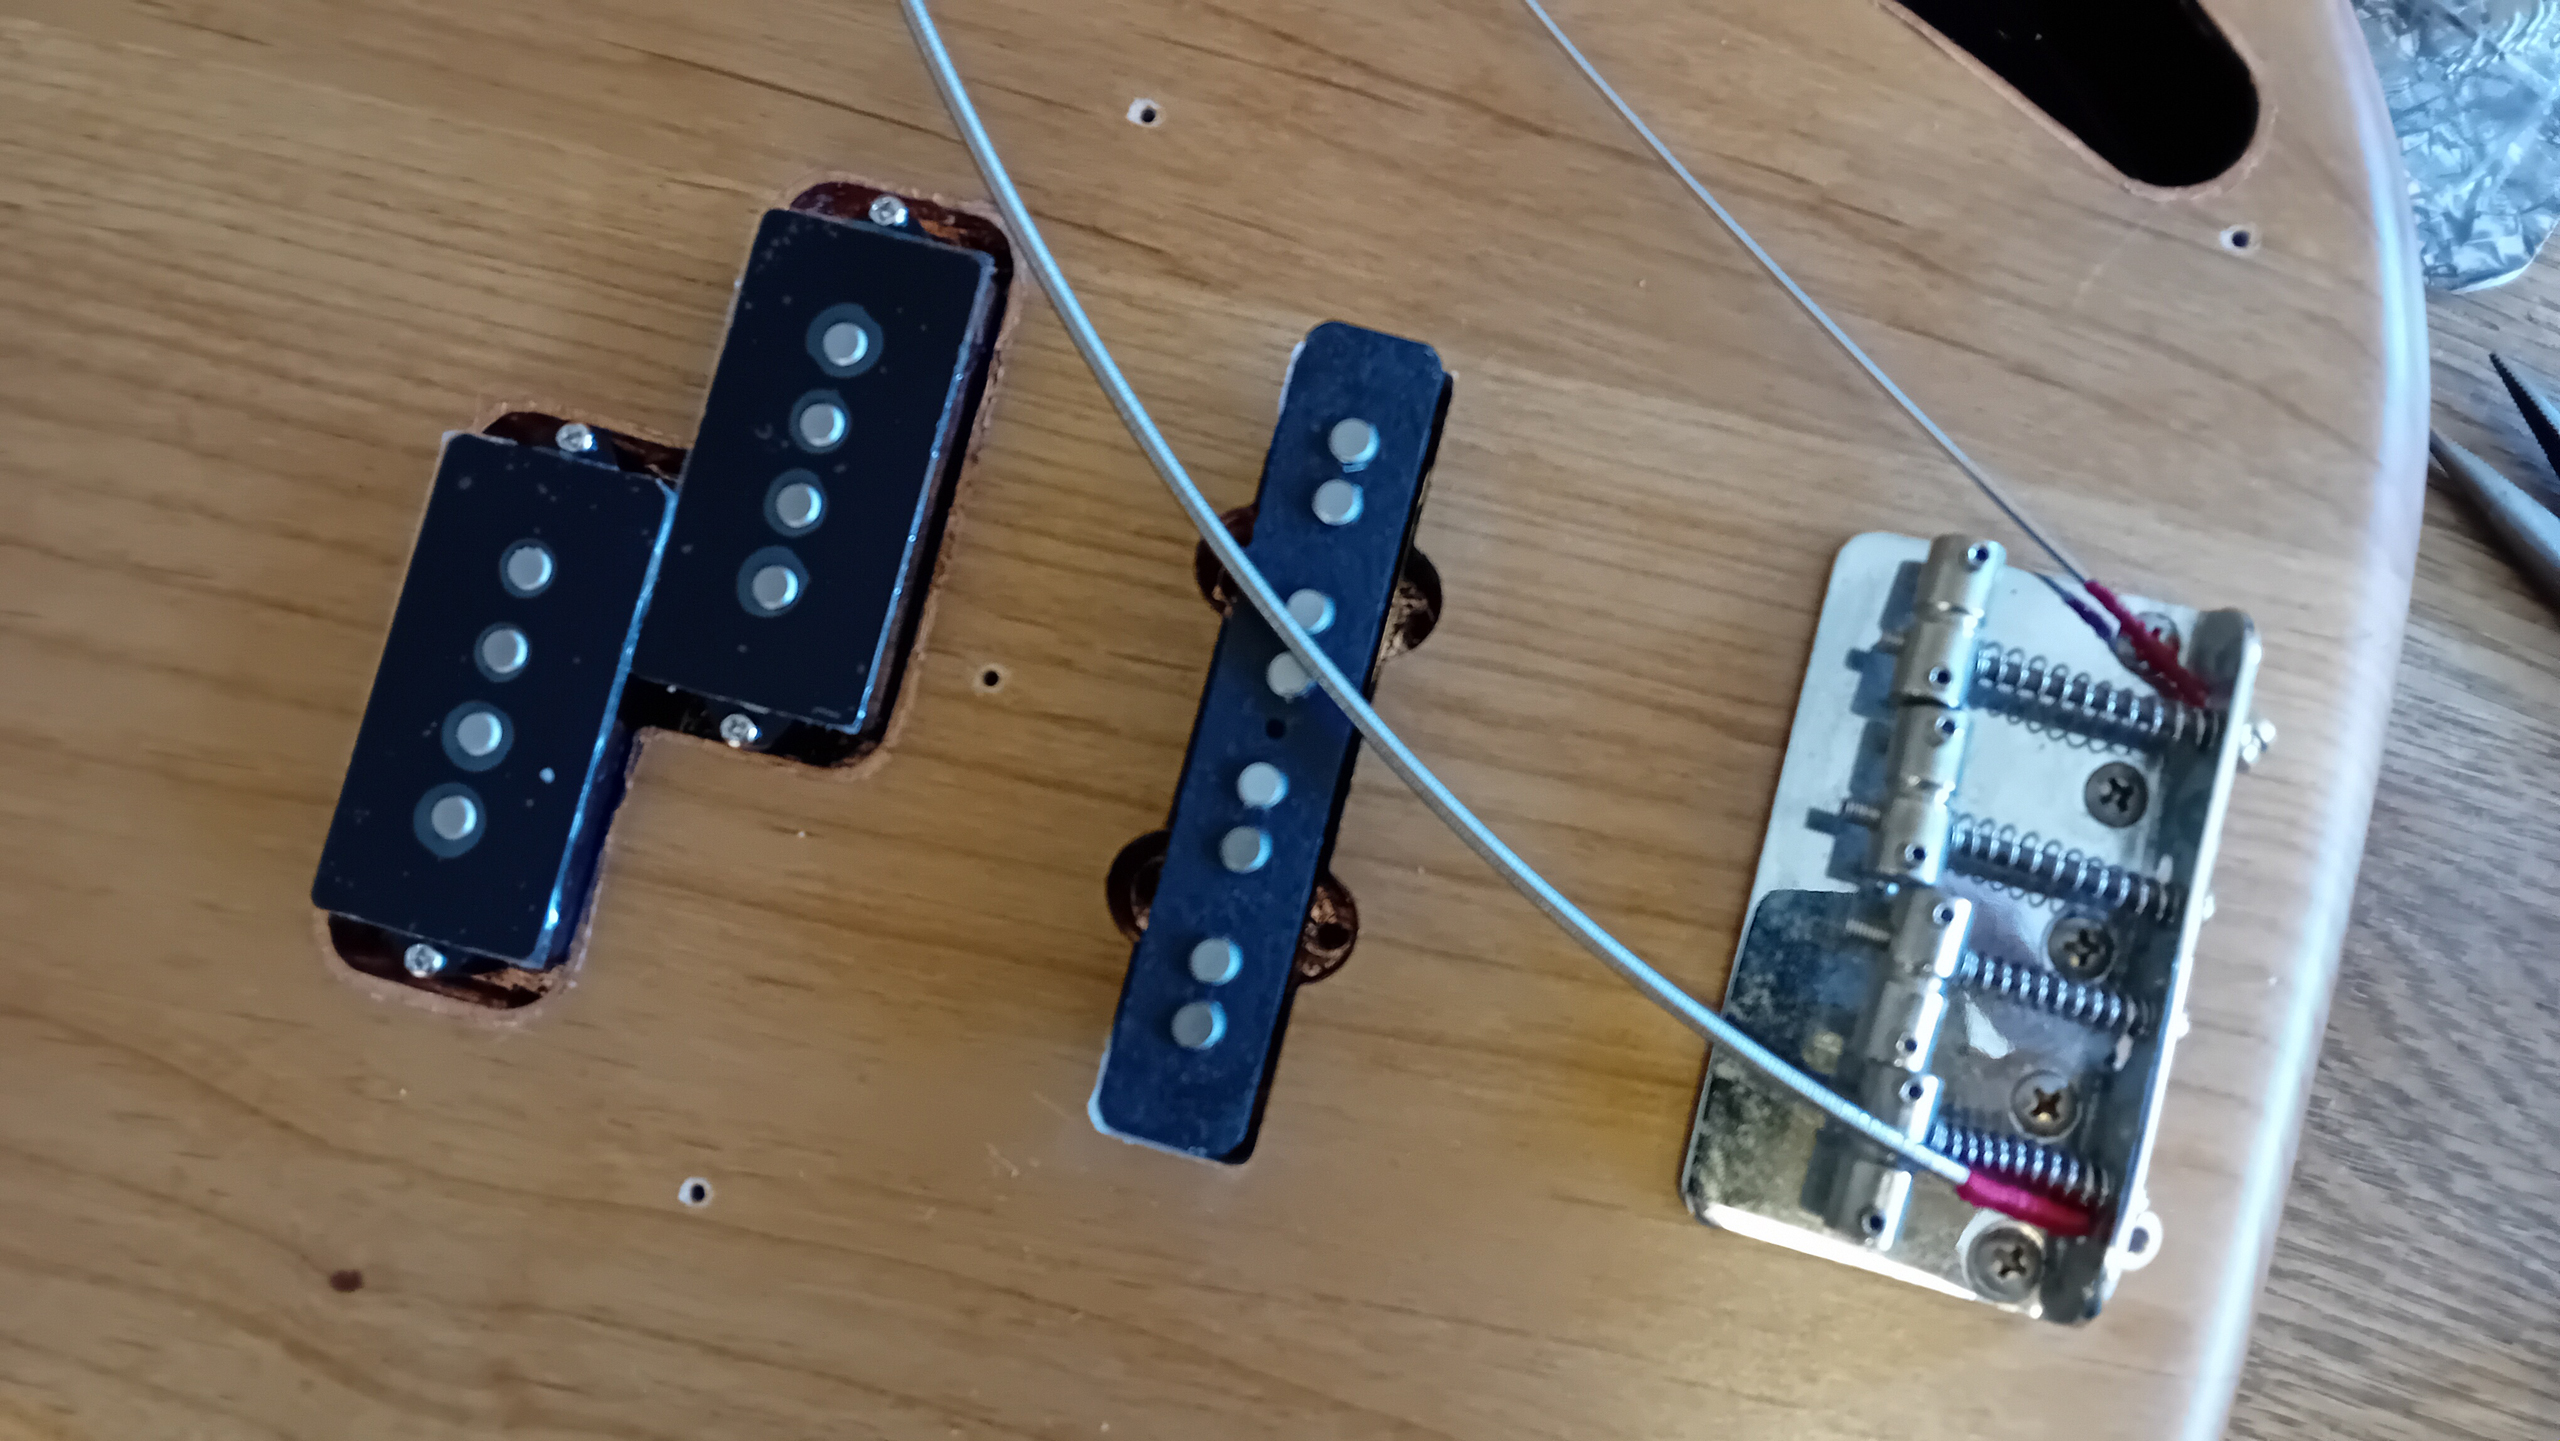
The P-Bass pickup(s) are then fixed into place over the top, and set to an approximate “working” height. (The heights will be fine-tuned later, during setup). The proximity of the treble side neoprene spring to the cable conduit, means that routing the pickup leads can be a little tricky – and you also have to be careful that the wires don’t get kinked or pinched under the pickups, as they’re screwed down. Once the P-Bass set is in place – the same basic process can be repeated for the “J-Bass” pickup. The temporary placeholder cover and spring is removed – and is replaced with a hand-cut brass shield plate, as before. The new pickup is dropped into place, as it’s leads are routed out of the cavity – and the pickup is finally screwed down into place, using the supplied screw set, through the cover lugs – to counteract the resistance of the neoprene foam “spring” from below…

Within the control cavity – the paired pickup leads have been twisted together separately – since this helps to route them through the tight conduits, and also differentiates the pickup wires, from the additional shield ground wires which run alongside. Those two extra leads from the grounding plates are then taken together, and their loose ends soldered to a single screw lug. (The solder joint at the lug is reinforced and insulated with shrink tubing). This new lug is then attached to the central “star ground” point, using the existing screw, which was located previously. (The original screw lug remains attached here – and will eventually be used to link all of the on-plate, and on-body side grounds – back to the jack socket barrel.
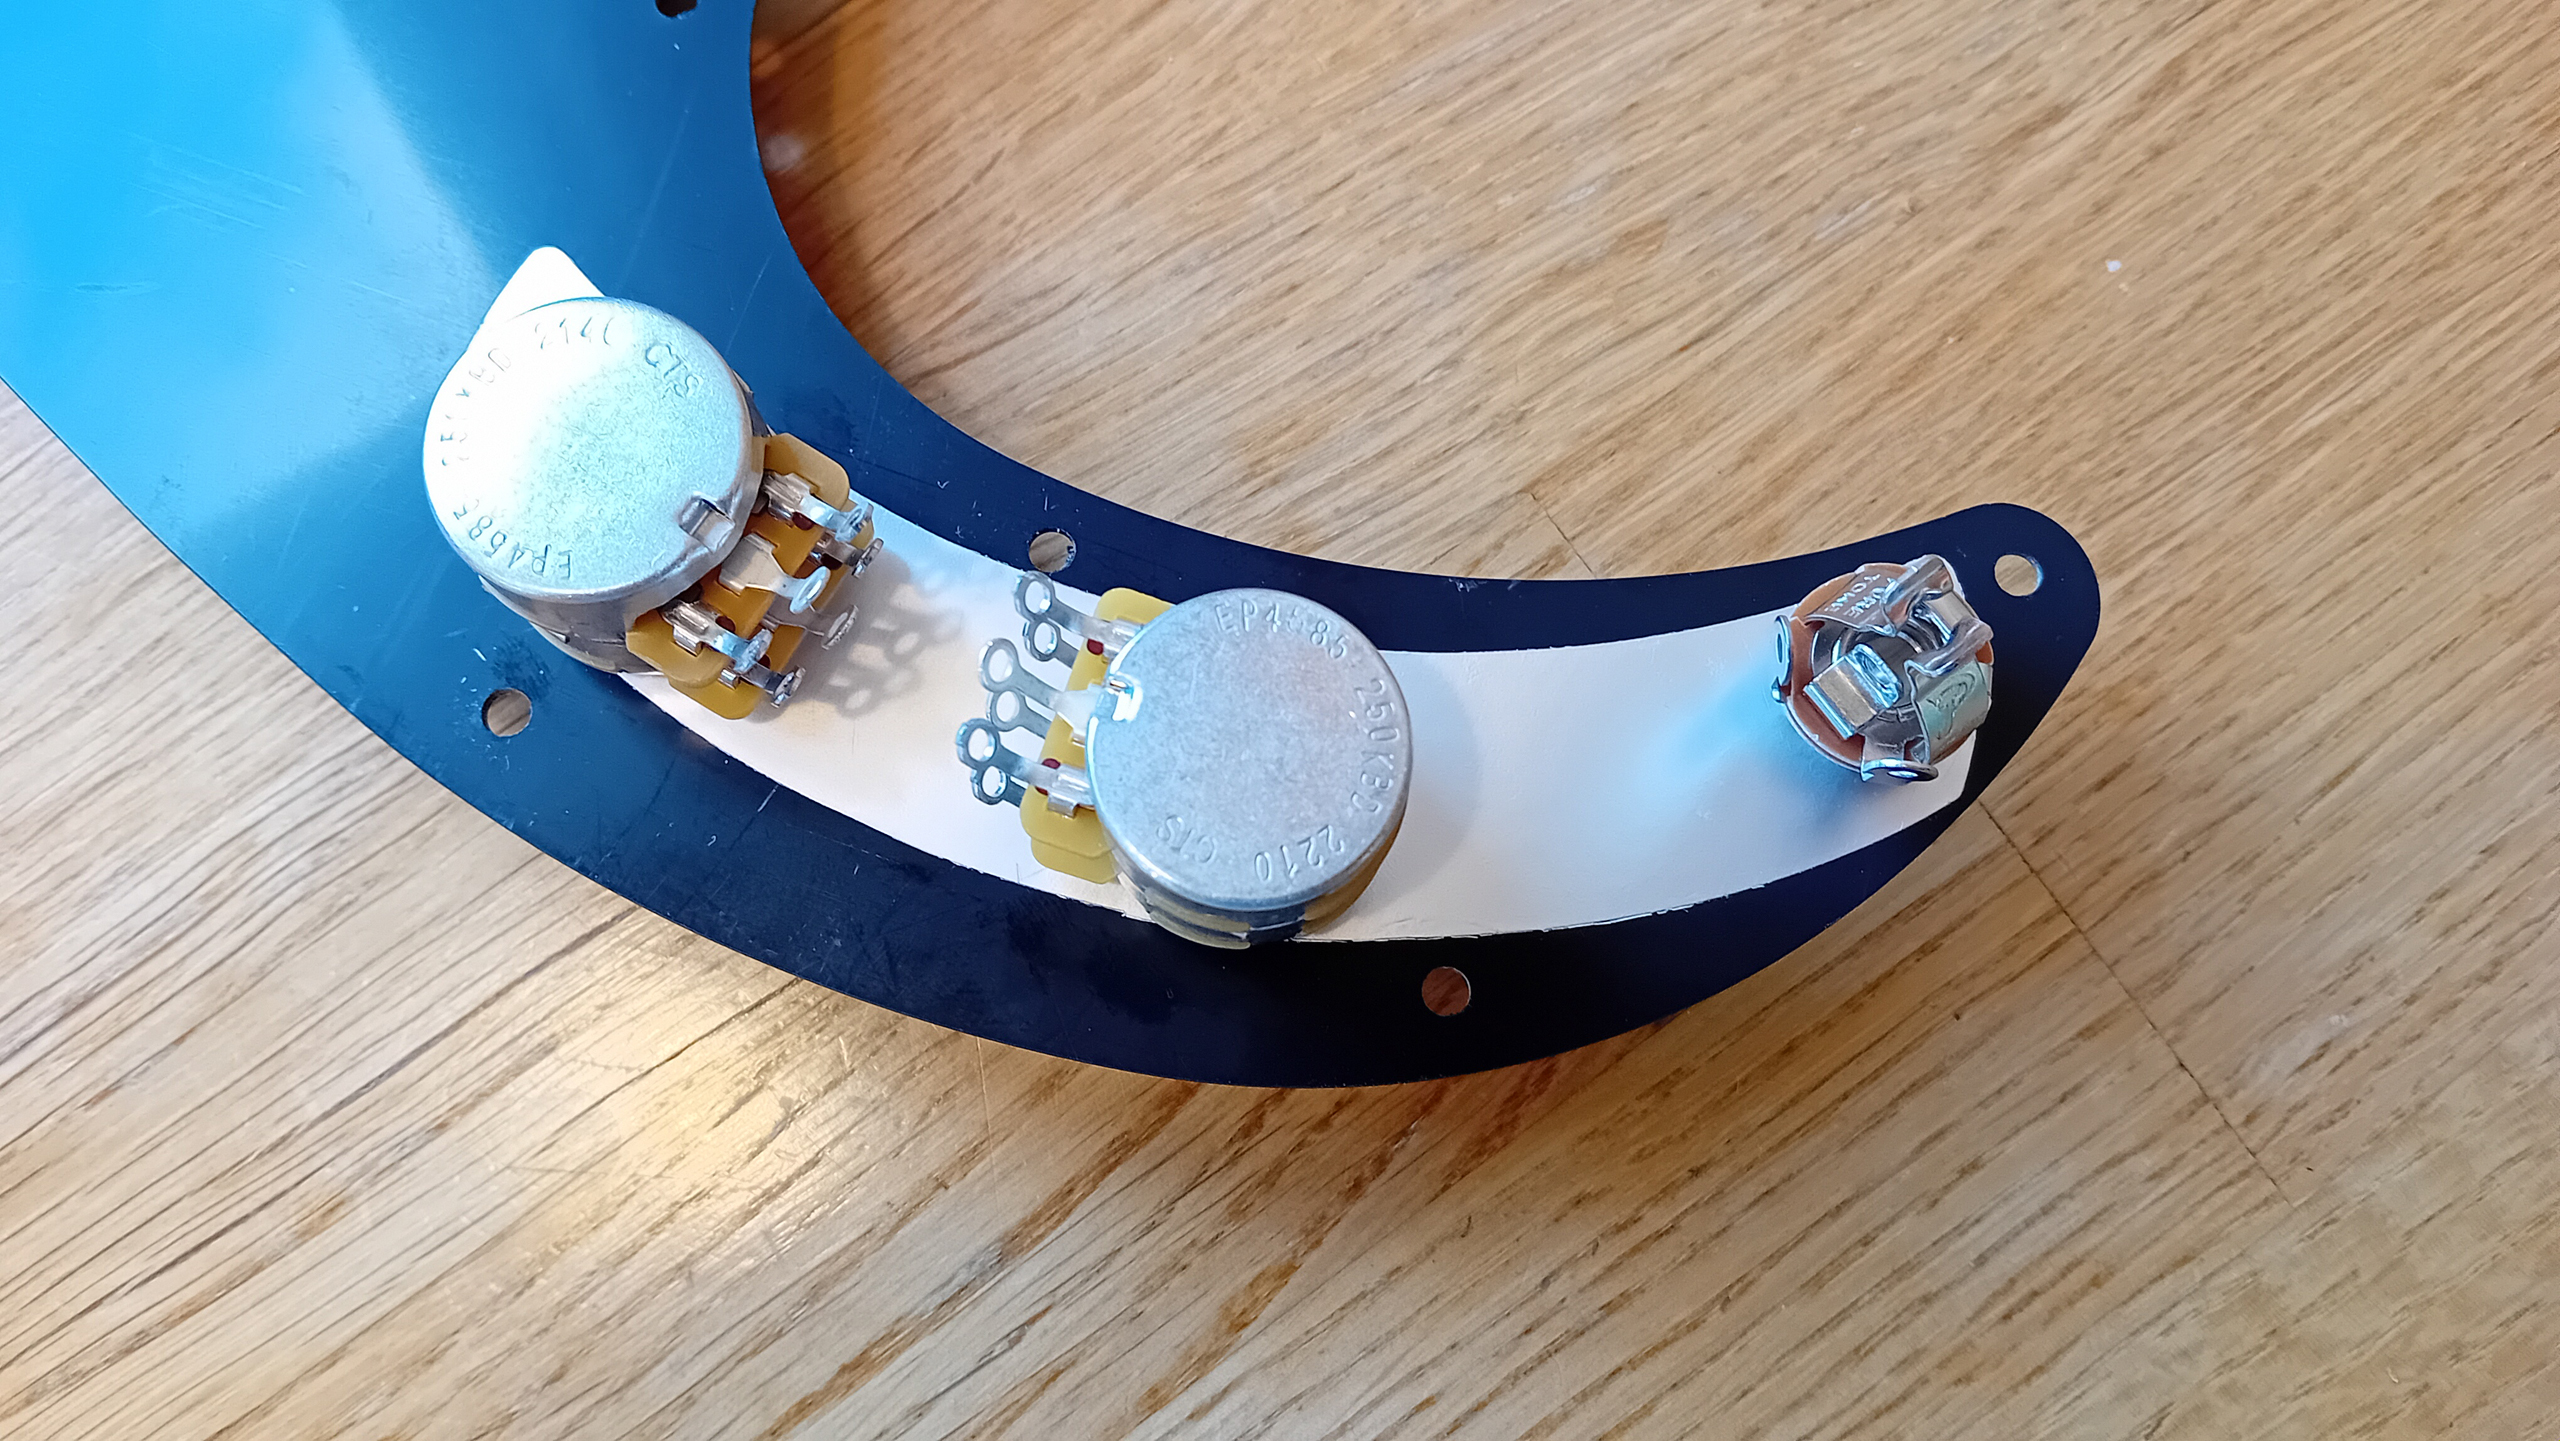
Finally – before re-installing the scratchplate once again – new tone circuit control pots, and a jack socket, are set in positon. Unless you have some other form of pre-shaped template, and can wire the tone circuit separately – it helps to build the tone circuit if these are in place on the scrtachplate first. But in this case, I also want to check that everything will still drop nicely into place, after I’ve routed the pickup and ground leads into the main chamber.
I’ve previously scavenged the original pots for this build, for another Jazz Bass – but a new set have been on this month’s wish list for buying and, although supplies of these AllParts/CTS 250/500 stacked concentric pots can sometimes be a little “patchy” – I’m glad to pick up another pair, easily enough. They’re fitted alongside a PureTone “double-clip” mono jack socket, (also seemingly hard to get hold of, at the moment). Before I finish the build – there’s a possibility that I may extend the pre-installed foil shielding a little – to better align with my own shielding efforts on the body. I may also have to pop one or other of the pots out to help manouevre the tone capacitors into place – so, at this point, I’m not reinforcing the retaining nut connections with LocTite. I’ll do all that in the next session, once I’ve completed the tone circuit. For this session – I really just want to ensure that everything fits together properly…

So – the scratchplate is slipped back into place, and re-attached using it’s full screw set. The two outer strings are then re-attached at the headstock. Next time – I’ll wire the tone circuit, hook-up the pickups, and install the remaining strings for setup…
